
Crafting Beautiful Book Covers: A Guide to Bookbinding Case Materials
Bookbinding is enchanting – a pile of raw materials transformed into literary treasures. It’s fulfilling to take part in the tradition of crafting books from scratch through crafting the frame in which it’s held – the bookbinding. Starting with fabric, chipboard, and glue, anyone can make an original case for a book of which they can be proud.
Many crafters find choosing the right materials to make book covers and cases daunting. Let’s explore what materials are best for crafting the perfect bookbinding case.
Types of Bookbinding Case Materials
Before we dive into the crafting process, let's explore the materials available for bookbinding. The choices are abundant, and the right selection can make a remarkable difference in your project's outcome.
Natural Fibers
For an elevated and professional case, natural fibers like cotton and linen are top choices. They offer durability, a classic aesthetic, and are a joy to work with. Among the natural fibers, Buckram stands out as a reliable option, offering both strength and elegance.
The Rigby Choice: I use cotton quilting fabric for its versatility. When creating a case cover, I opt for easily manipulated fabrics so I can sublimate, embroider, etc. More on this later in the blog.
Leather
Leather book covers exude a timeless grandeur and sophistication. Genuine or faux, these materials add a certain panache to your case. Leather bookbinding is perfect for special occasions, such as creating a cherished family heirloom or a fancy gift.
Leather requires a separate process. Let me know if you’d like to see this covered in another blog. This blog goes over fabric covers in depth.
Why Fabric
What’s so great about fabric covers? They come in a wide variety of colors, patterns, and textures, allowing you to infuse your book with a unique personality. From bold and vibrant to soft and pastel, there's a fabric out there for every style and purpose.
Design Ideas and Personalization
Before starting the fabric preparation, decide if you will apply any special treatment to the fabric. Are you personalizing your book cover with a unique design? Whether it's sublimation, painting, or even embroidery, your choice can impact the sequence of your crafting process.
For sublimation or painting, complete these steps before applying any bonding or paper.

Sublimation
Sublimation is popular for t-shirts and other fiber projects; it is the process that involves transferring ink from a printed image to the fabric using heat. Use this to print graphic design art on your cover. For best results, collaborate with someone who has experience preparing the fabric and designs for the press.
The Rigby Choice: I work with Desert Harmony Design to have my fabrics prepared.
Painting
A painted design gives a certain special touch to a book making it into a masterpiece. Apply the HeatnBond and Hanji paper before beginning your artwork. This approach gives your painted design a solid and even surface to work on while keeping your artwork safe from the heat of an iron or the moisture of the glue.
Embroidery
Embroidering on fabric adds a charming and tactile element to your book covers. It's advisable to complete the embroidery before the gluing process, as it prevents piercing holes in the HeatnBond or Hanji paper.
Preparing the Fabric
Once you decide if you are applying a design, prepare to treat the fabric. The first step is to attach HeatnBond followed by gluing Hanji paper to the HeatnBond. All of this will happen before gluing the chipboard to the treated fabric.
Using Fabric Lining Verses HeatnBond
While you may have experimented with fabric backings, it's advisable to opt for fusible HeatnBond for more professional projects. This paper-like fabric lining provides a paper-like feel, which is crucial. It doesn't absorb excess moisture. Using other stiffeners with a fabric-like texture might lead to unwanted wrinkles and bubbles in later stages of the bookbinding process.
The Rigby Choice: I personally used fusible interfacing for the first launch of books. In my experience, the fabric was difficult to manipulate, frequently detached from the lining, and proved difficult to produce a perfect final project. HeatnBond cut down on the time spend tremendously.
Adding Hanji Paper
With the HeatnBond attached, it's time to add a layer of Hanji paper. Made from bamboo, Hanji is remarkably strong and resistant to tearing. Popular in calligraphy, it's the perfect companion to reinforce your book cover. Cover the Hanji paper in a layer of glue and lay it on the HeatnBond side of the fabric.
LAY FLAT, and cover with a nonstick surface, ie wax paper, and place a heavy flat item on top. You can use a few large books. During this glue process, your treated fabric will be prone to warping. Keep it covered for 8-12 hours.
The Rigby Choice: a book press is best for gluing, however the above practices will result in a professional product.
Selecting the Chipboard
The chipboard you choose for your book cover is essential. The weight of the chipboard matters and can affect the final result. If you're uncertain about which type to select, consider the differences between 20 pt, 50 pt, and 80 pt chipboard.
20 pt Chipboard is Not Ideal
At 20 pt, this chipboard is flexible and economical. It's a suitable choice for experimentation and projects where flexibility is a requirement. For added thickness, you can layer two 20 pt sheets together.
The Rigby Choice: I purchased 20 pt for my first books and, while I learned a lot, it was not worth the cost savings. I struggled to make a professional final project because if how flimsy the material was.
50 pt Chipboard Makes a Nice Book
With a thickness that strikes a balance between cost-effectiveness and durability, 50 pt chipboard is a popular choice. It's versatile and suitable for most bookbinding projects, offering strength without making the book cover too heavy.
80 pt Chipboard
For special projects and books that hold sentimental value, consider 80 pt chipboard. It offers exceptional strength and durability. If you're rebinding a cherished book or creating a unique masterpiece from scratch, 80 pt is the ideal choice.
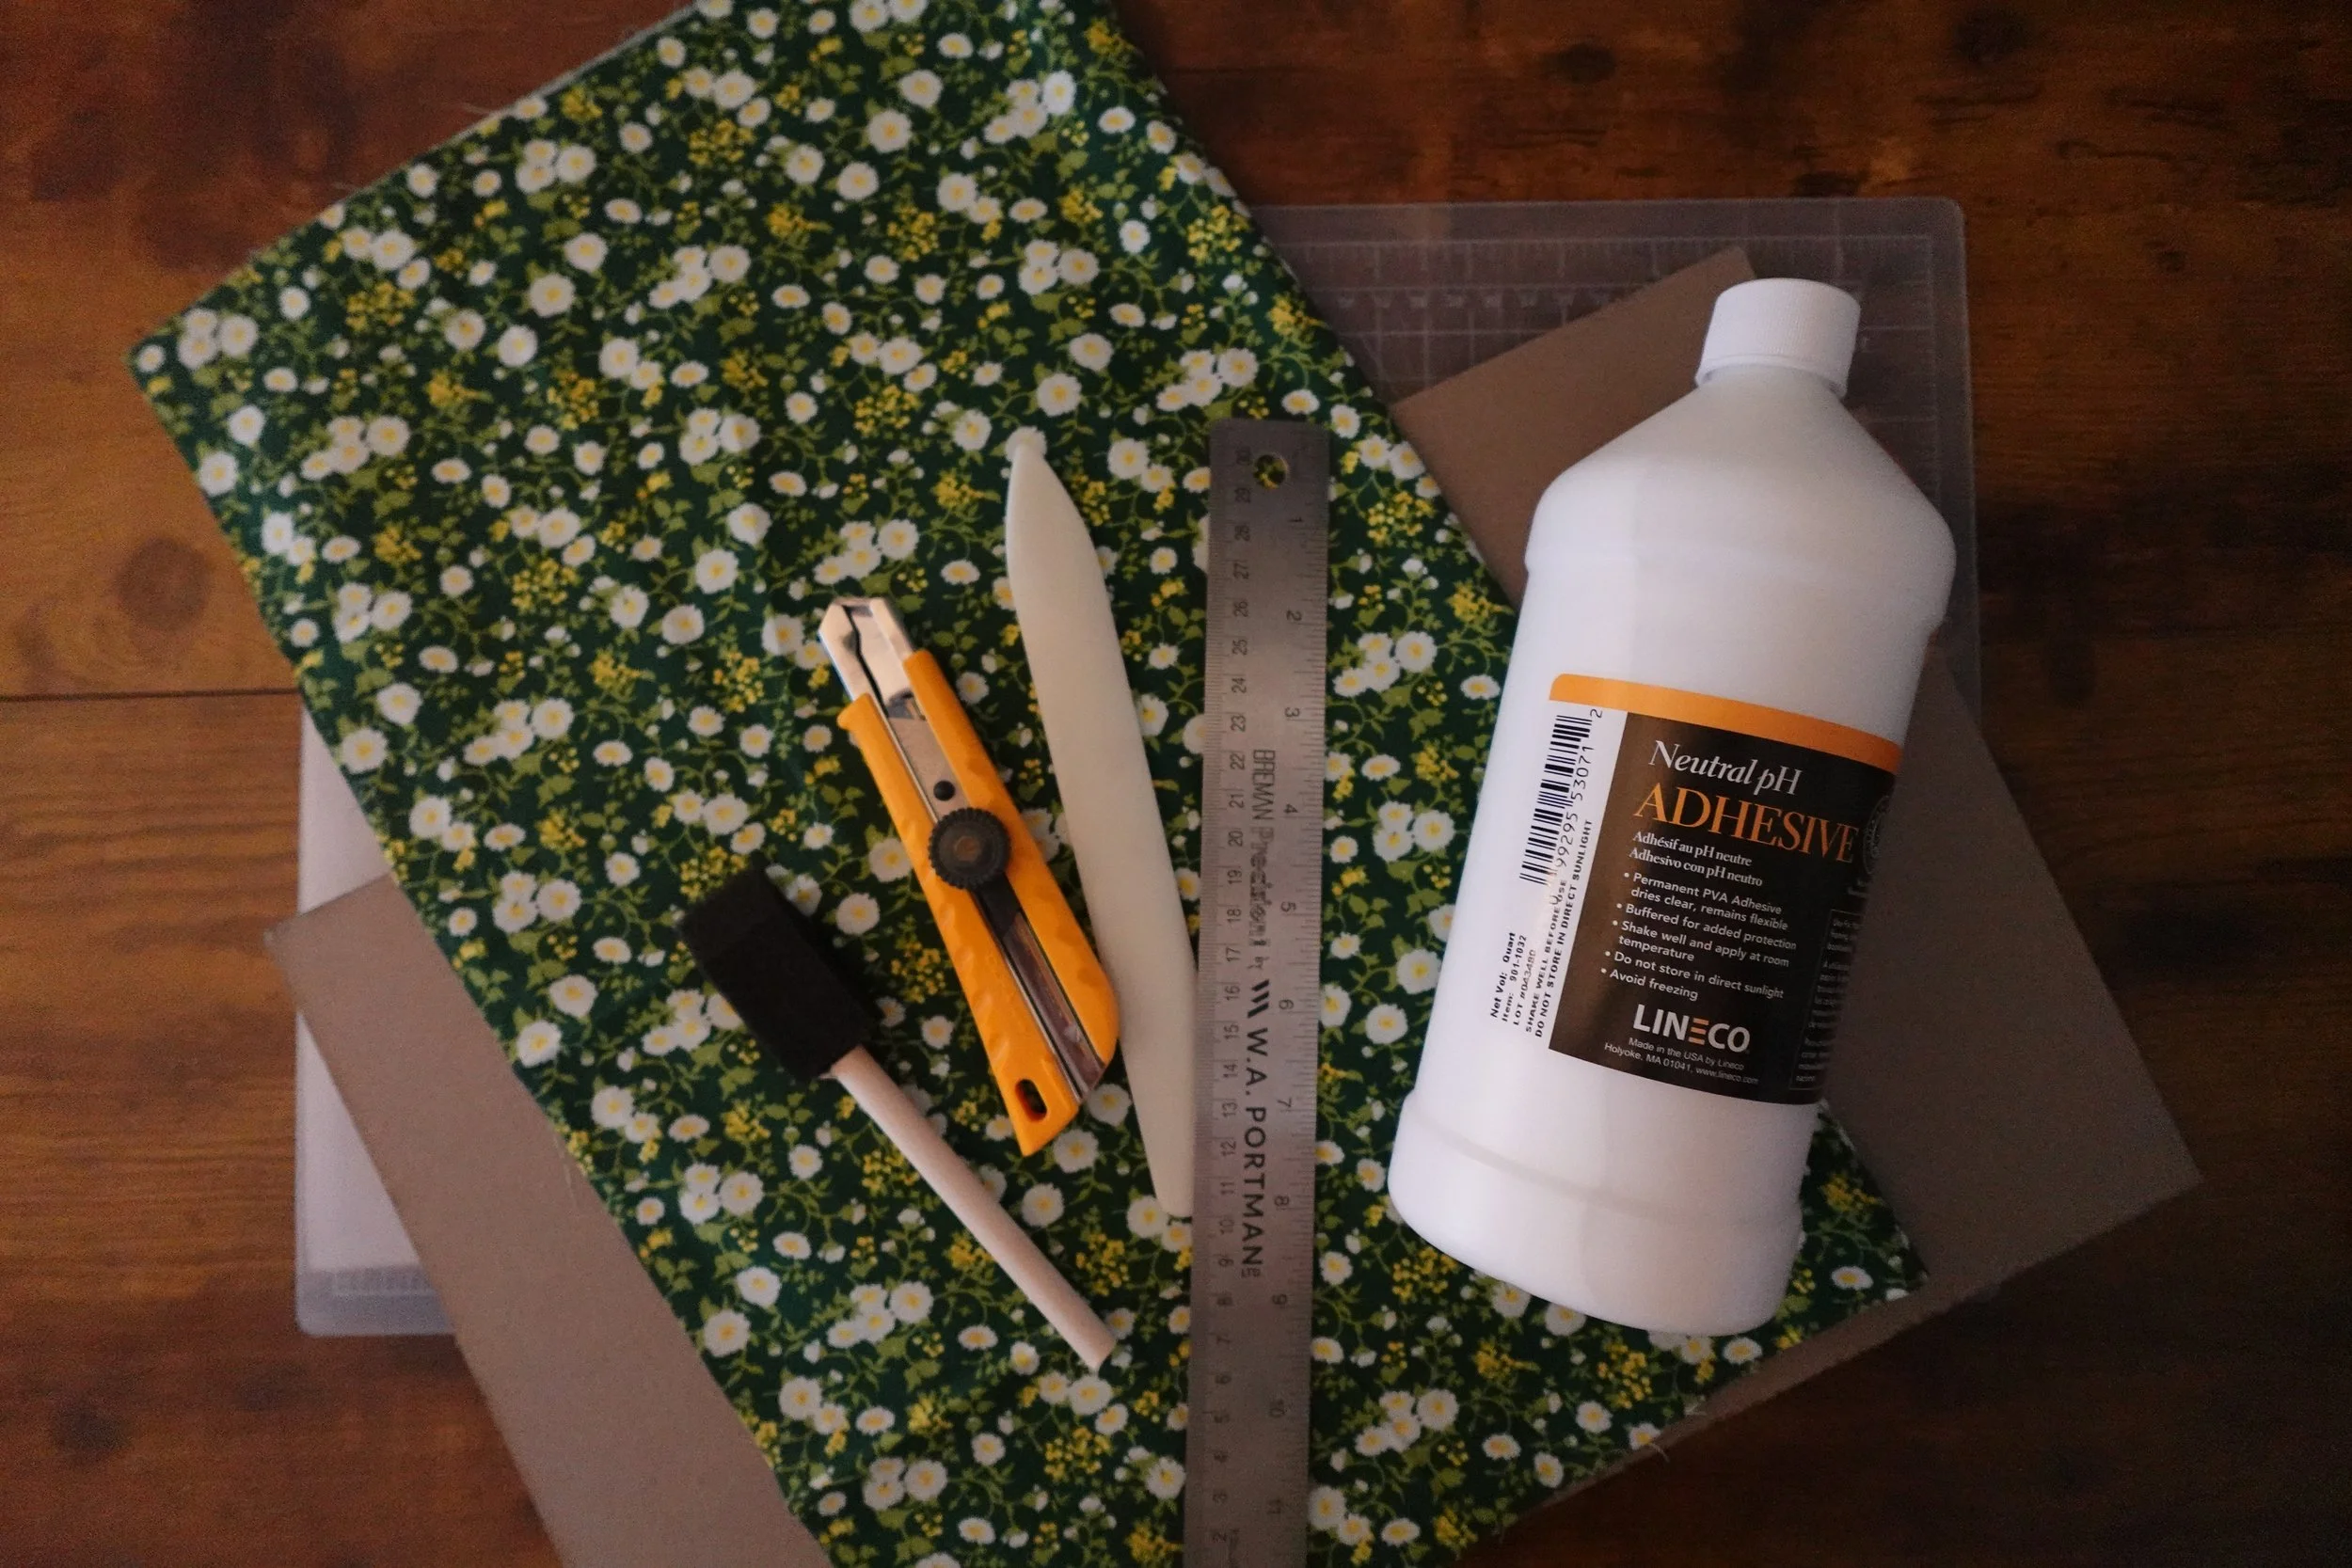
Cutting the Chipboard
Use a self healing cutting mat, metal ruler, and OLFA knife for the best results. I opt for a border of about ¼ - ⅝ inches larger than the page. The metal ruler is important so as the material isn’t cut away over time. The cutting mat will save a lot of heartache over damaged surfaces. For more information and links to materials, check out this list of Essential Bookbinding Supplies.

Choosing the Right Glue
When it comes to glue, always choose a pH-neutral adhesive. A pH-neutral glue ensures the longevity of your bookbinding project, preventing acidic reactions over time.
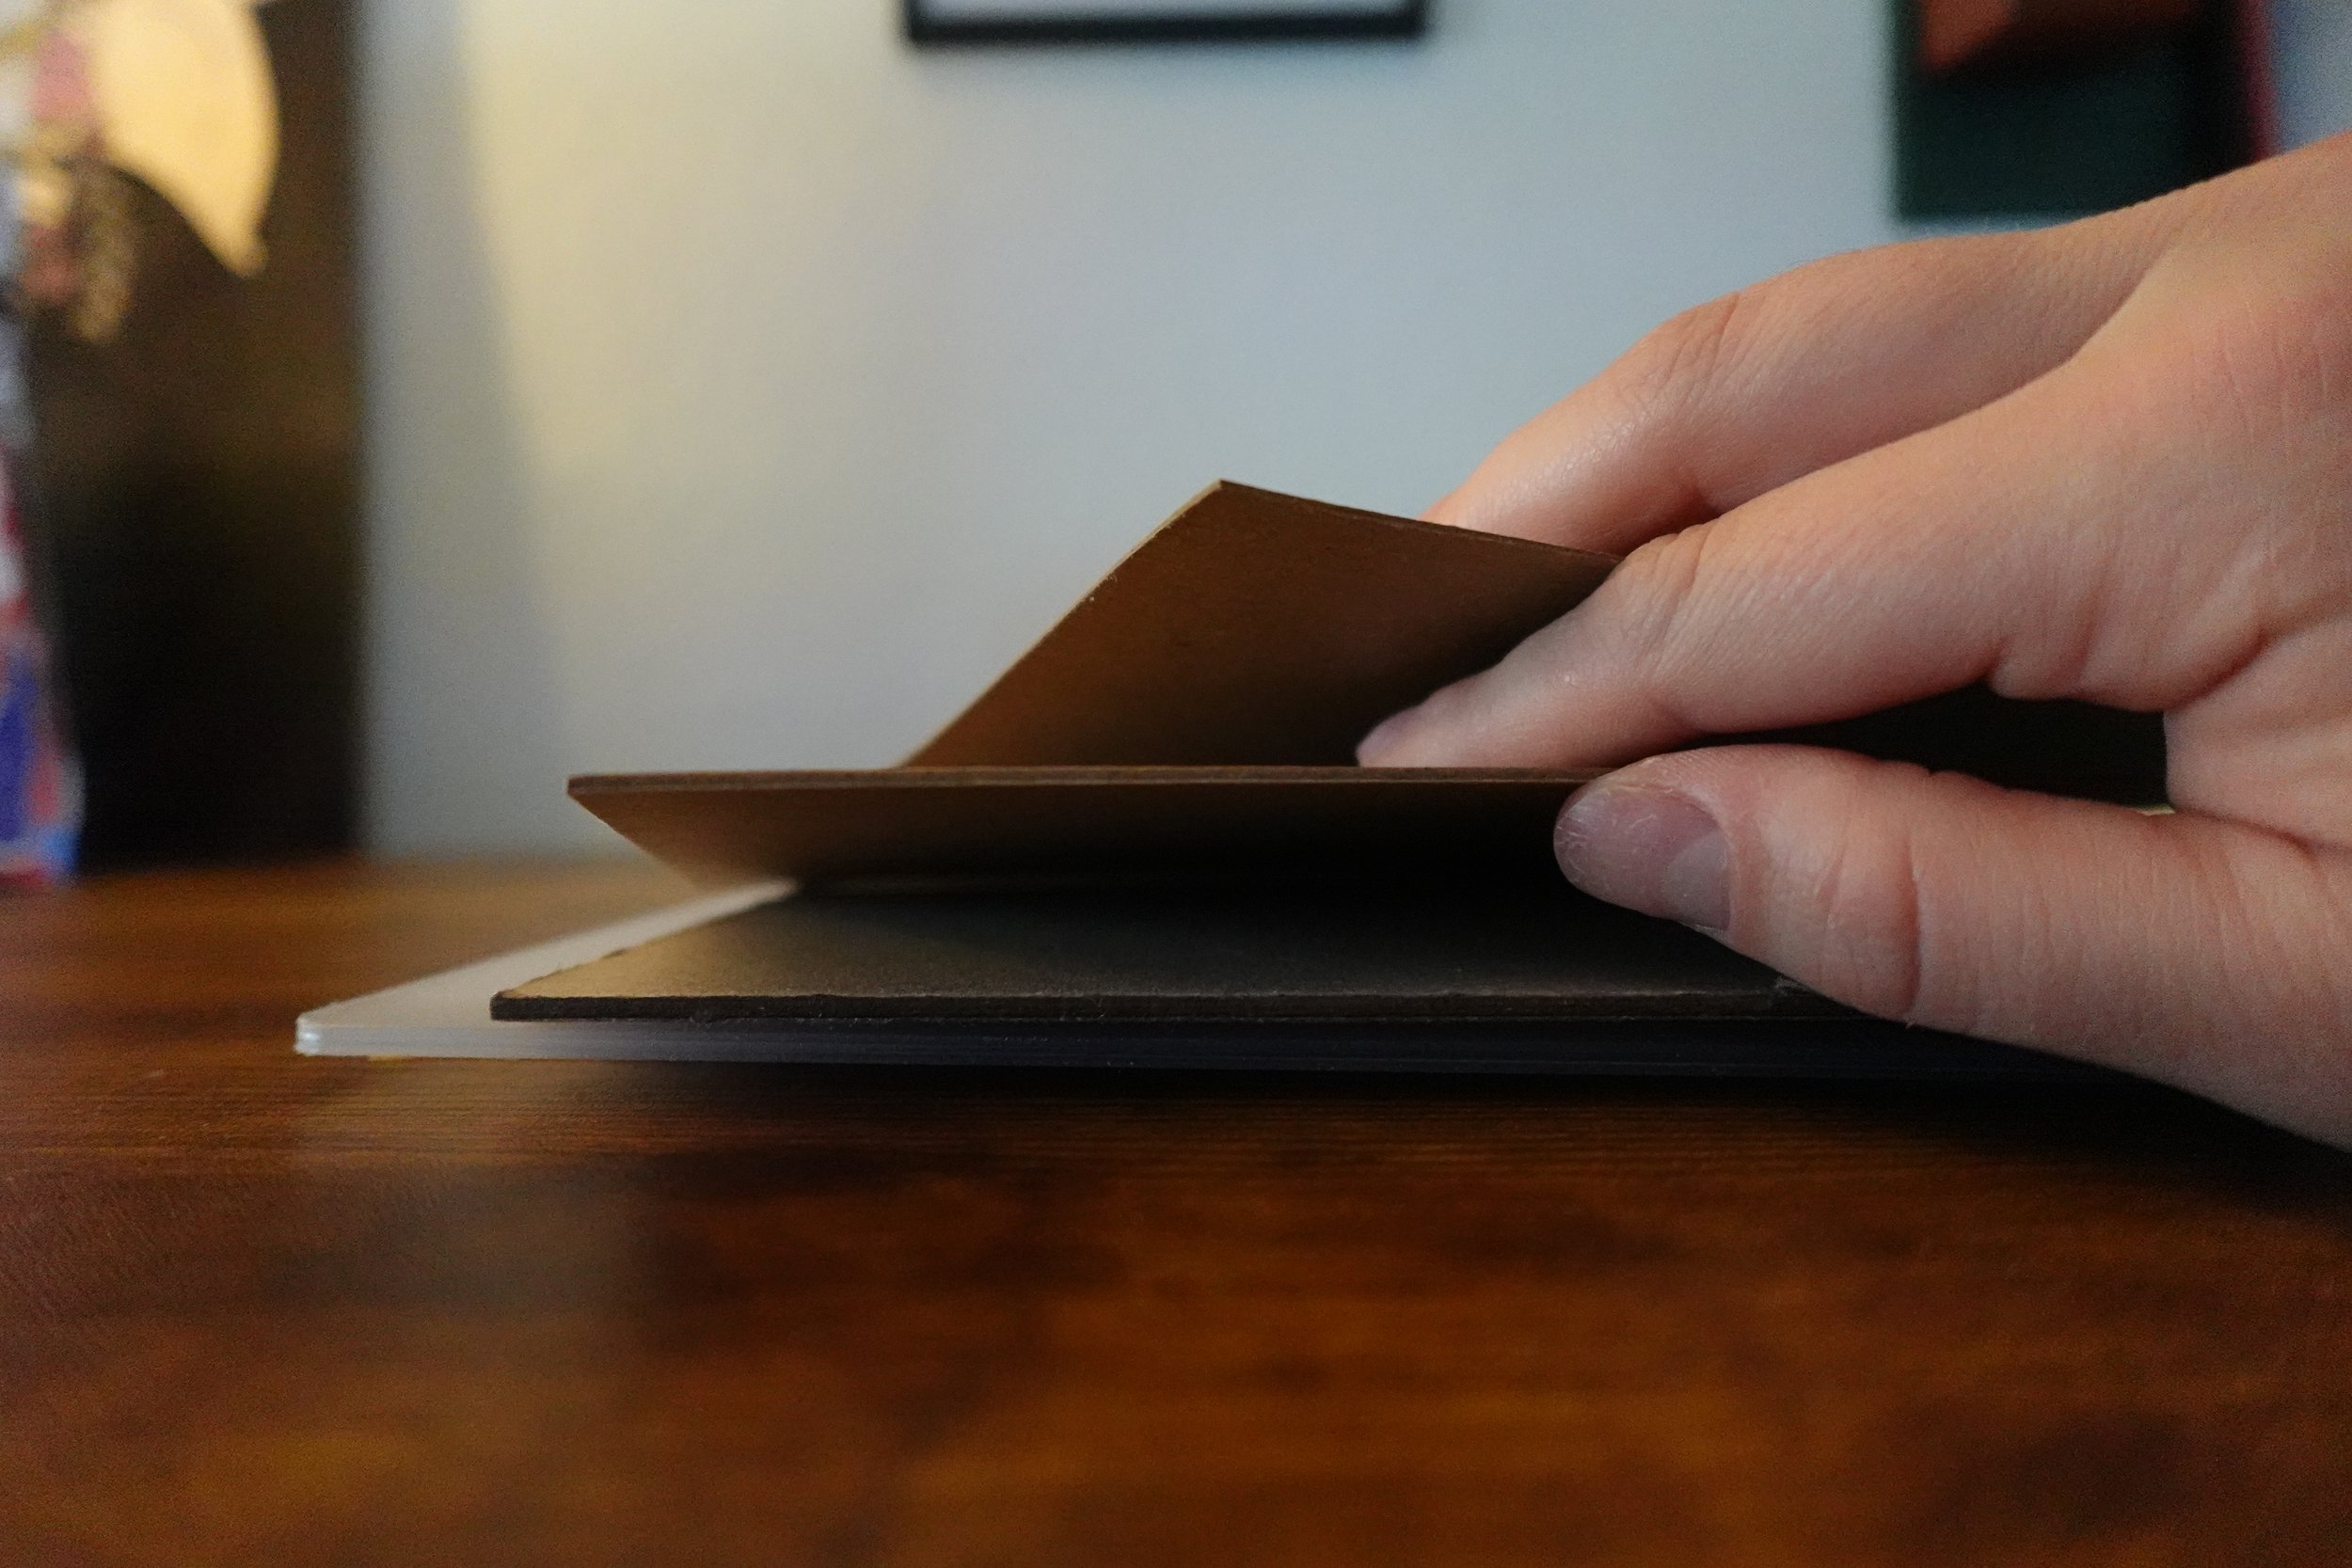
Putting It All Together
With your fabric prepared and chipboard cut, it's time to assemble the case binding. Measure the distance between the spine and the covers. Use glue to attach the chipboard to the fabric.
The Rigby Choice: For distance between the spine and covers, consider the size of the book. Smaller books, ½ - 1 inch books, I have successfully used the width of my folding bone as a consistent and successful measurement.
Pressing
Whether you have access to a proper book press or resort to using heavy books, place the case binding under something flat and weighty to prevent warping.
After 8-12 hours, your masterpiece will be ready to attach to your book block, completing the bookbinding process.

If you are in the Las Vegas, Henderson, or Boulder City area, Cards o’Glee and I offer bookbinding workshops. Check her website to see if there is one on the calendar.